Taking Successful Rescue Photos with Your Phone – quickly and easily!

Shelter dogs need good photos to survive. The right image is more than just a pretty picture. It’s a lifesaving tool. A photo that makes the viewer feel a connection can change a dog’s life in an instant.

Taking pictures that save lives isn’t some complicated matrix of obscure settings. It’s a simple process anyone can master by following a few simple steps, using a smartphone. In this tutorial I am going to explain the how and why of each component. You’ll be taking good photos that are effective at getting dogs into homes and you’ll be able to explain and share this knowledge with others.

Step 1 - Prepare the Setting

There are three parts to this step.

  1. Find a confined area with good lighting and few distractions.
    I learned this the hard way. When I first started doing rescue photography it was in a garage that had been converted to a photo studio. I used backdrops and professional lighting. Later, when I began taking photos in a shelter environment, the lighting was a challenge, but most dogs were confined to kennels. It was easy to get the dogs to look at me, though the results were unintentionally sad. See examples below.
    After a new facility was built, we started photographing dogs in a large play yard. I encouraged volunteers to take photos while they were walking and exercising them, but that turned out to be a mistake. The large play yard had too many distractions and no shade. It took much longer to get photos, and they were poorer quality than I had been getting in the studio and kennel settings.

    Why? Several reasons – 1. A large area with too many distractions leads to a dog that won’t stop moving (unless they know the sit command) and 2. full sun causes the dogs to keep their eyes hooded or faces downcast, so you never get the sparkle (known as catchlights) that makes their eyes come alive. This look is known as “deadeye” and it’s something you never want in a marketing photo.

    Below are two examples. Same dogs, one photo in full sun and one with the dogs in a shadier spot, with light behind the photographer and not behind the subject. See how dull and expressionless the eyes in the first photos are and how the eyes with catchlights grab your attention? These photos were taken within five minutes of each other and only a few feet apart.
    The small black dog was moved from open ground to the shade of a porch two feet over.

    The brown and white dog was sitting in full sun in front of a parked car in the first photo and moved to the open shade cast off the side of the vehicle for the second photo.
    You can solve both the dog-in-motion and deadeye problems by finding an area with open shade, tethering the dog to an anchor (affixing the leash to a solid object) and stepping back. Make sure it is a calm and low-enrichment area.

    We are now using the entryways on either side of our shelter, so the subject isn’t in the line of sight of kenneled dogs (thereby avoiding a commotion) and we keep toys out of this area except for those used to focus the dog’s attention on the photographer. These areas are on the east and west sides of the building, so we pick the one without direct sunlight based on the time of day.

    Overcast days can offer ideal lighting conditions without the need for seeking shade. Indoor areas near a window can also provide good lighting conditions.
  1. Clean up your background. Distracting background elements draw the viewers’ attention away from the dog. These can be anything from a bright splash of sunlight on the ground to brightly colored objects (even leashes) in the image, or dog houses and other objects. If you don’t have a clear background, you can use sheets of fabric to create a clean slate. Expensive photography backdrops are not necessary. Sheets are good because they come in many colors and patterns and can be easily washed and reused. (When photographing puppies ALWAYS change the backdrop between litters so it doesn’t become a parvo vector). For adult dogs, natural backgrounds like landscaping, concrete, or the side of a building can work too. Below are some photos with examples of background clutter or distractions.
  1. Have treats and squeakers on hand. Some dogs respond to squeakers, some to treats, some don’t need anything because they are naturally attentive to humans. You want to get the dogs full attention, so they look engaged and appealing. Some dogs respond to squeakers and some hate that sound. Pay attention to the dogs’ response. Don’t repeatedly squeak nonstop. Don’t start squeaking until you have your shot lined up. A dog might be attentive at first but become annoyed by the sound after a few minutes. Other sounds can be effective as well. I often make noises with my mouth, high pitched “eek” sounds, creaks, or meows, while some people whistle or blow and make funny sounds.

    Remember, different dogs respond to different stimuli. Some dogs are food motivated. Try giving them a single treat and then holding a second one that they can see and smell just out of their reach over your camera (phone). After you get a good shot, give them the treat and praise them. Check to see if they know the sit command. If they do, treats and squeakers may not be needed. Just tell them “sit” and start snapping your shutter as they pose there.

Now that you have prepared the setting and thought about your strategy, it’s time to take pictures. An added bonus with this technique is that it usually takes only five to ten minutes per dog to get great photos so many more dogs can reap the benefits of your time.

Before you start snapping photos:

  1. Walk or exercise the dog first. A helper can do this. Bring the dog to the area you have prepared and attach it with a leash to a fence, wall anchor, or other object nearby.
  2. Quickly step out of the dog’s reach. You want to avoid getting tangled in the leash.
  3. You don’t need to spend time calming the dog down. Just speak reassuringly to them. Some dogs may need to calm themselves down. Depending on how much experience they have with a leash, they may twist and pull at the tether for a few minutes. They’ll relax once they figure out the situation. This only applies to some dogs. The majority calm down fairly quickly, if not right away. With high-energy dogs, we walk them or let them run in the big play yard for a few minutes to get some of that excess energy out.

Getting the best photos with this setup is as easy as ABC…

A. Get to the dog’s level.

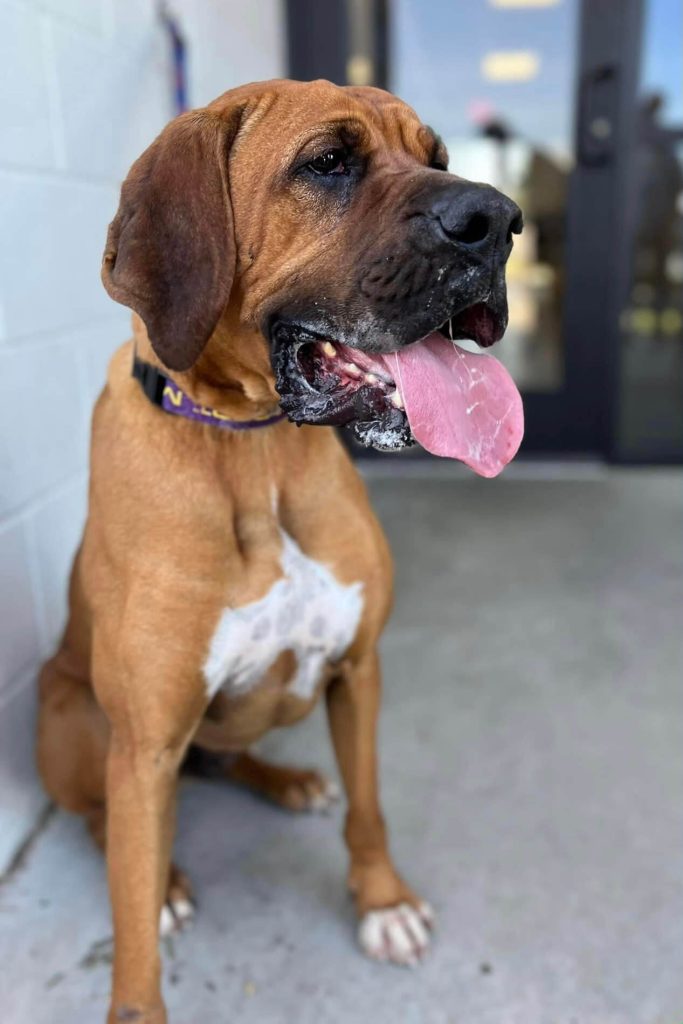
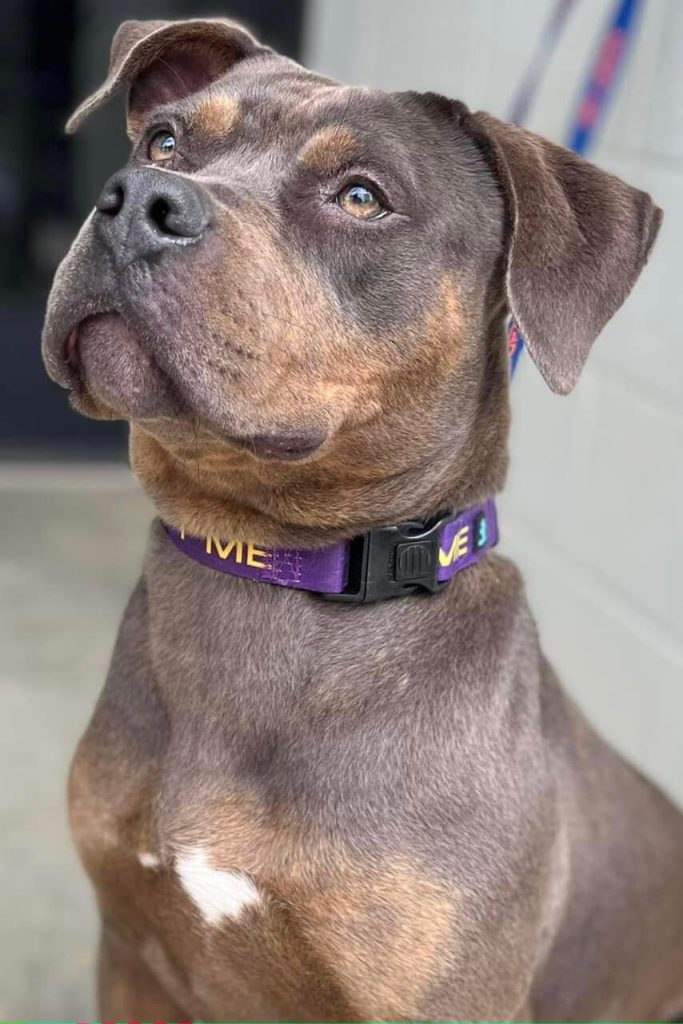
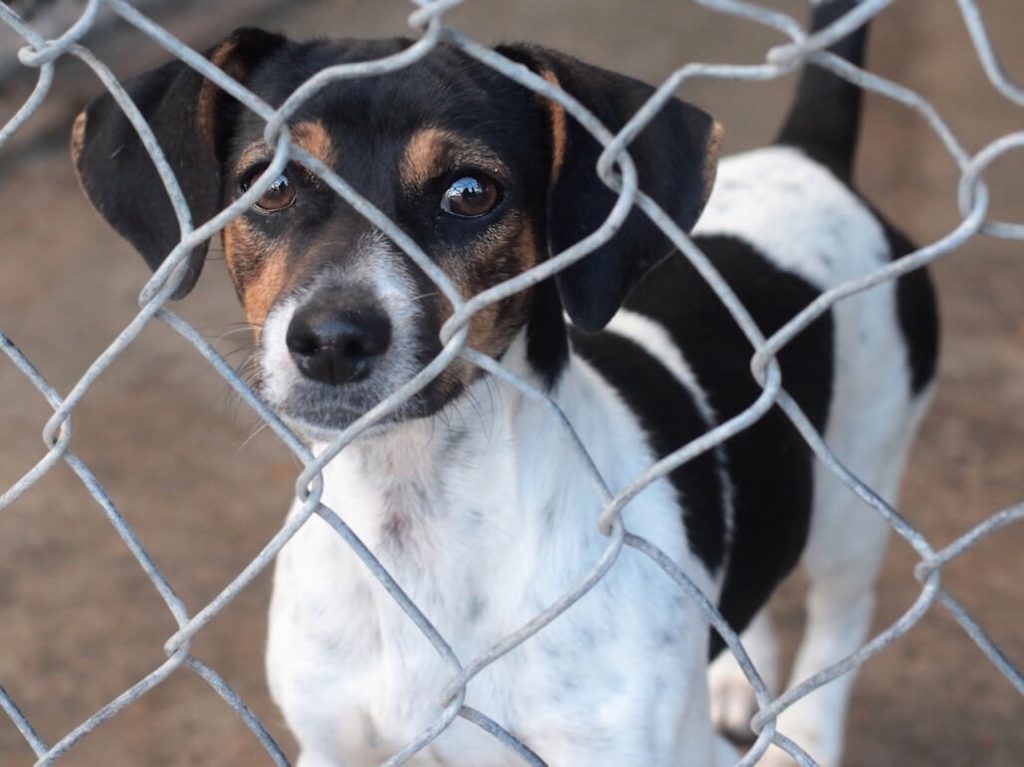
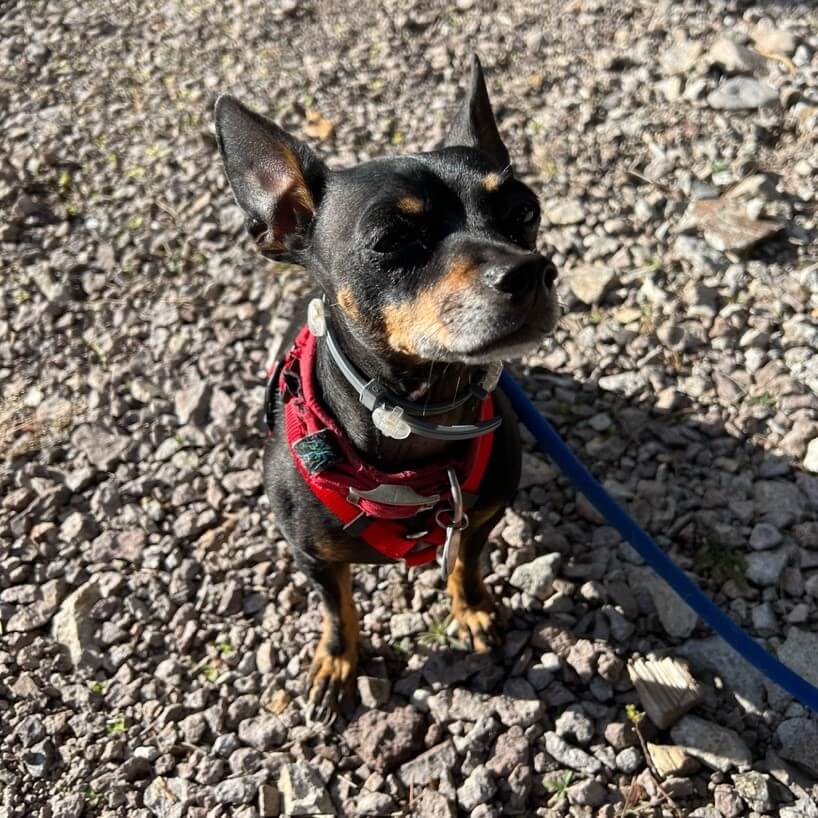
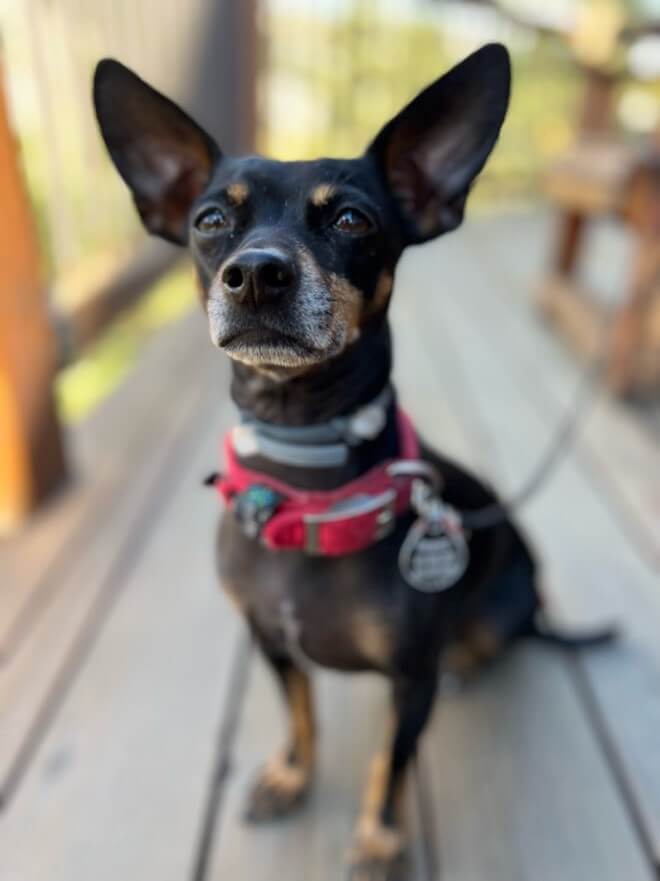
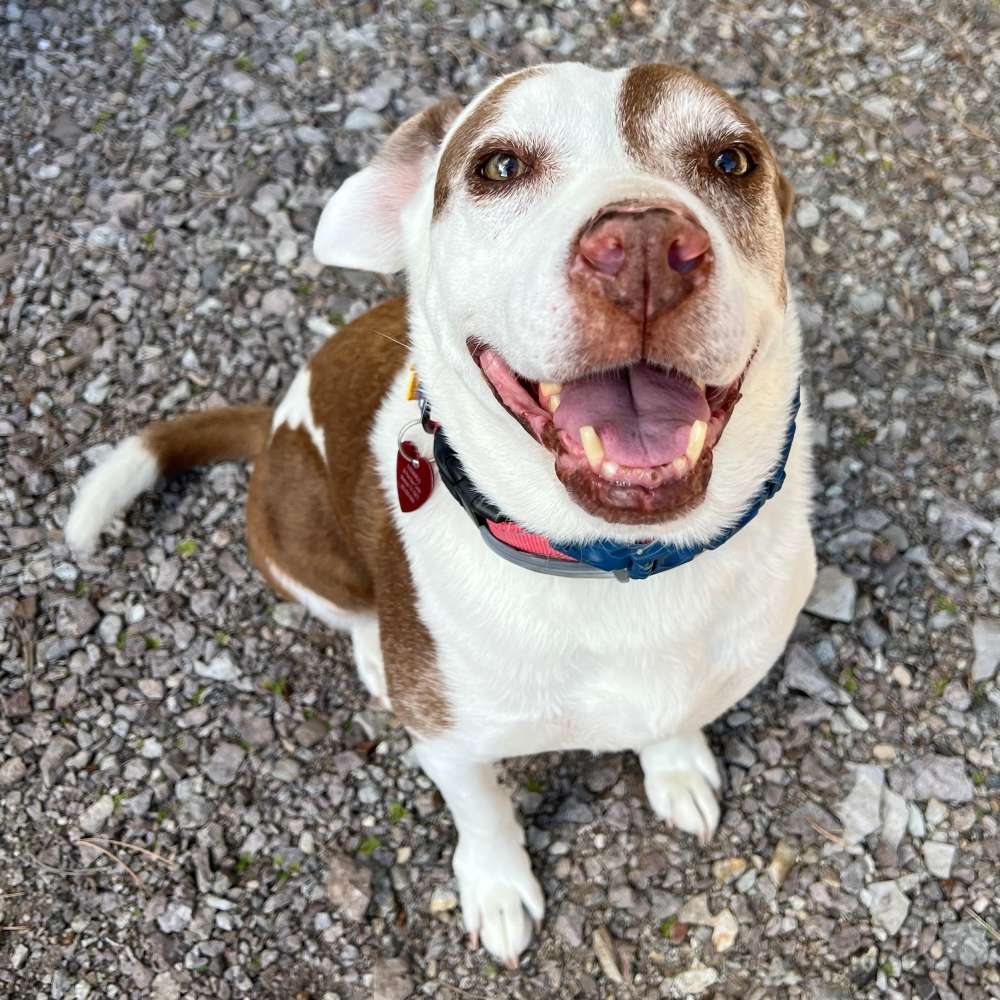
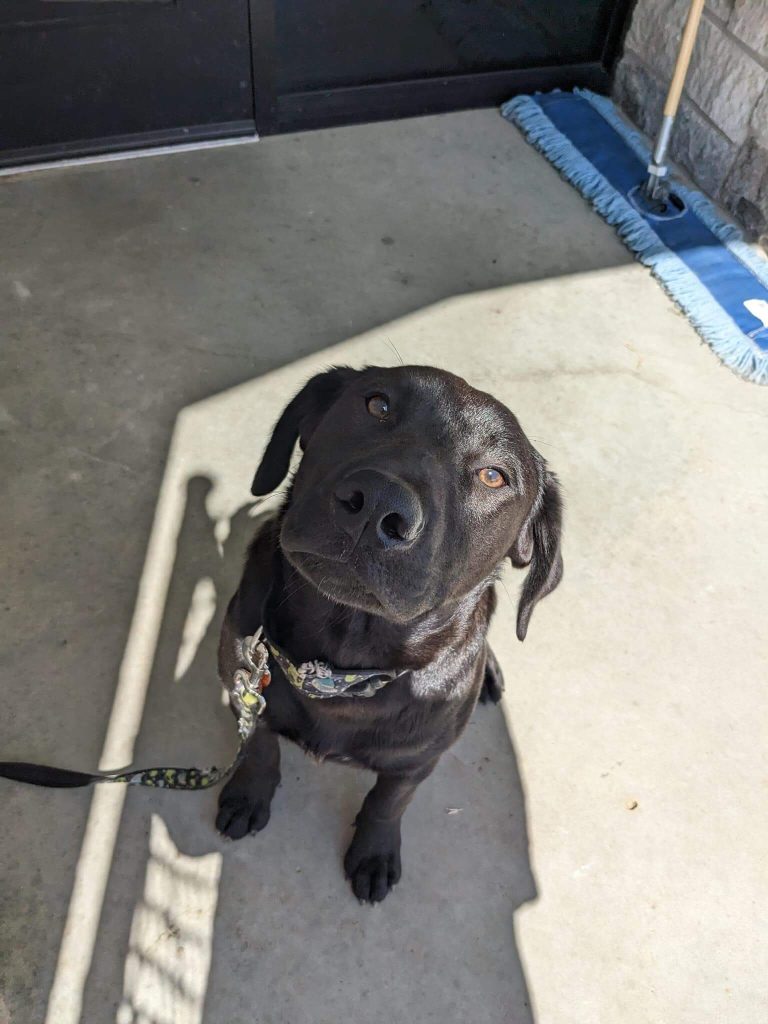
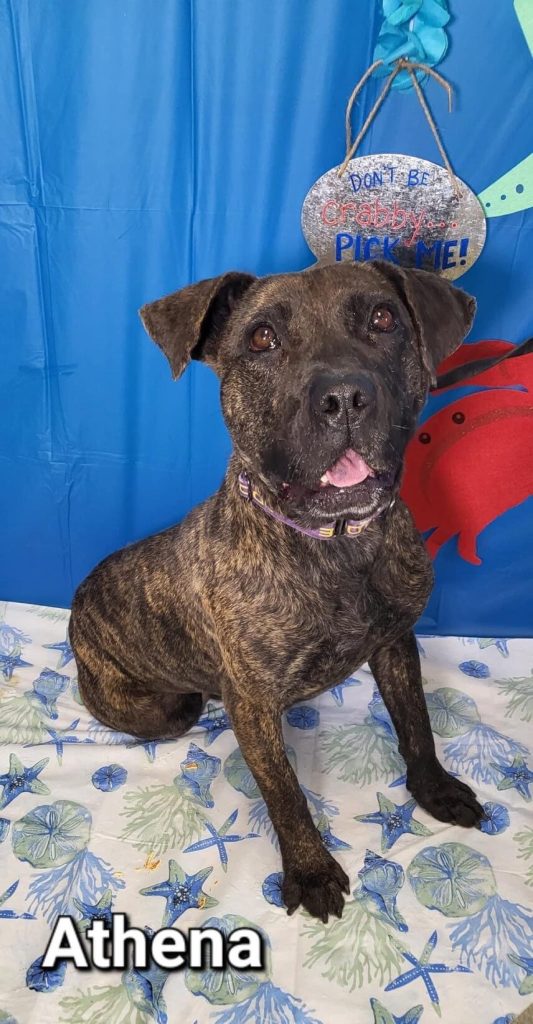
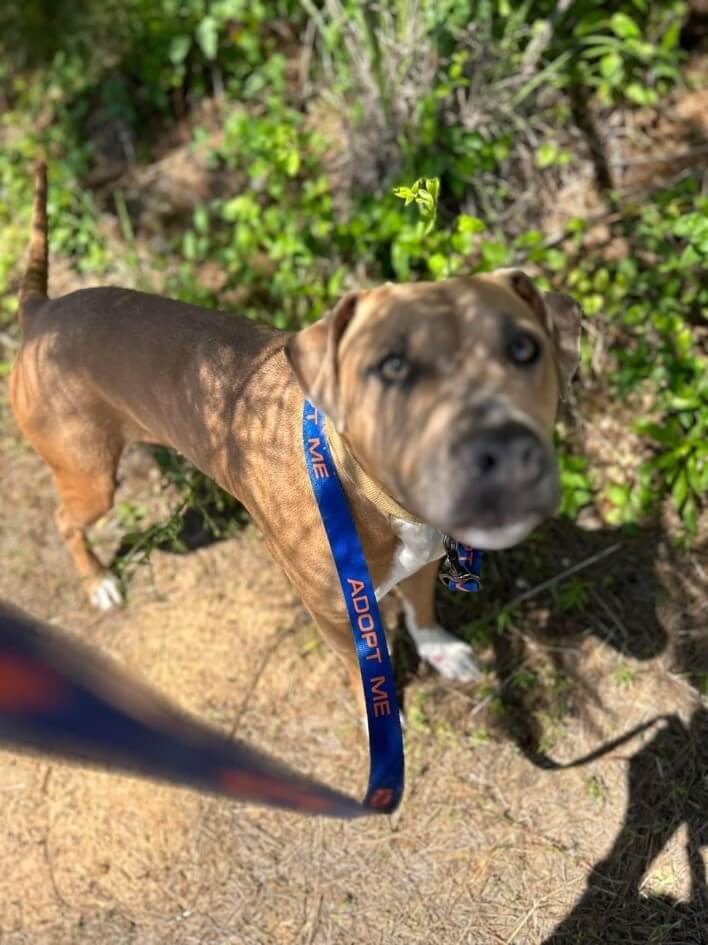
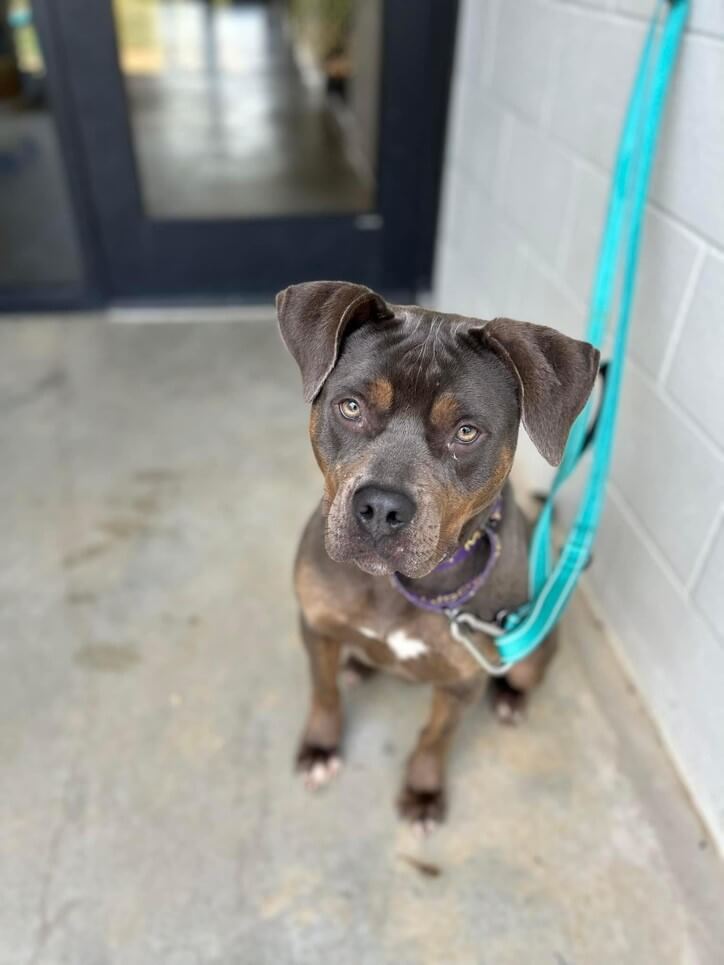
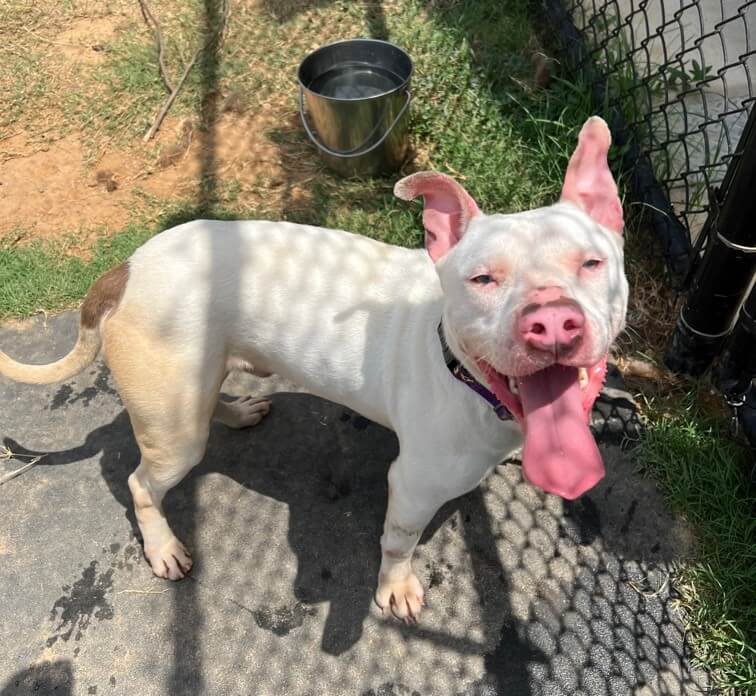
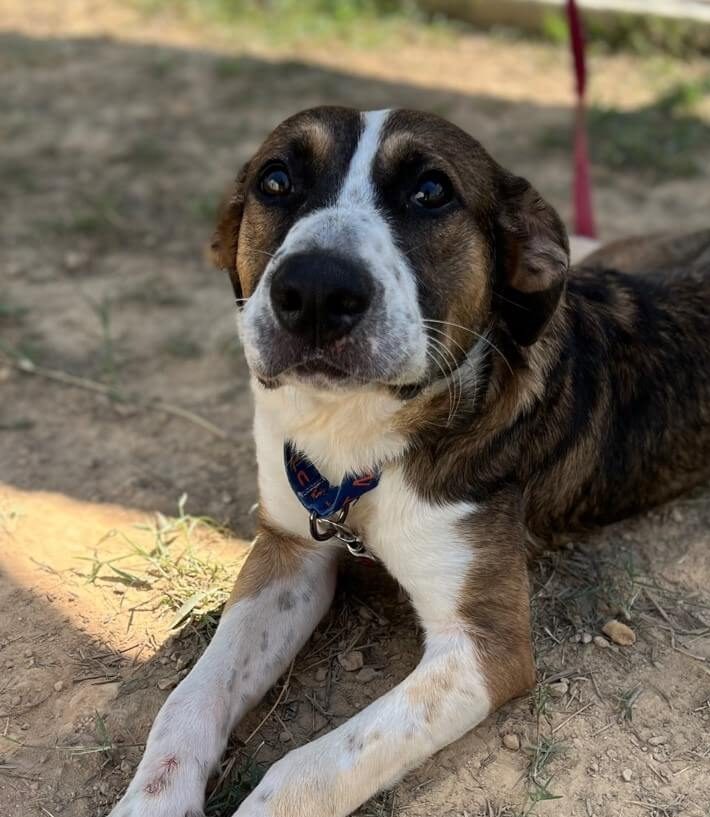
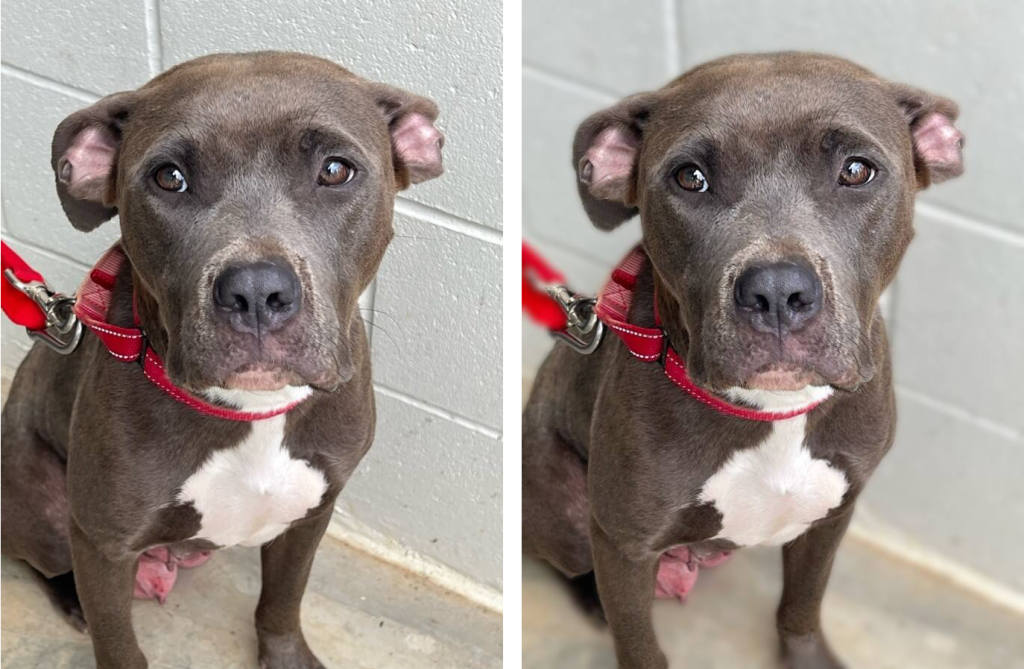
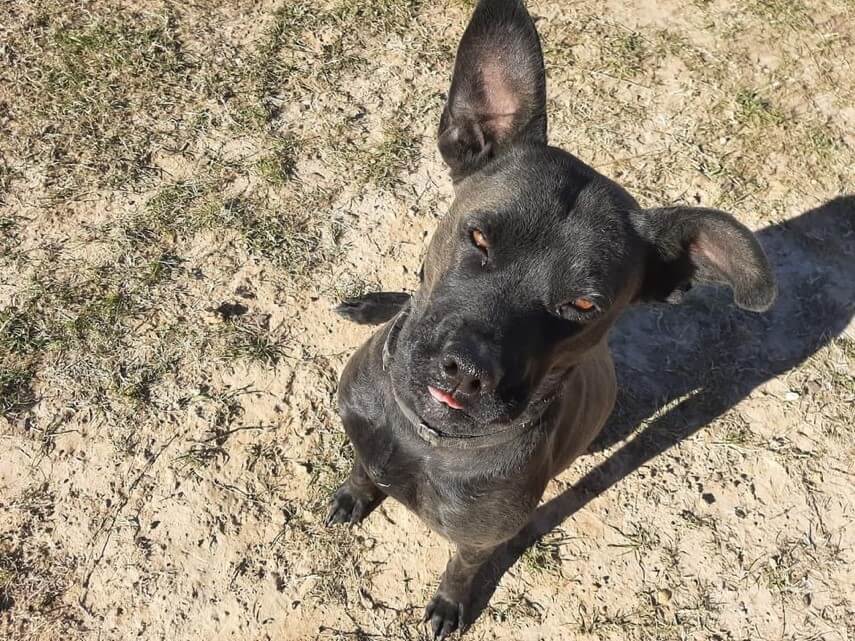
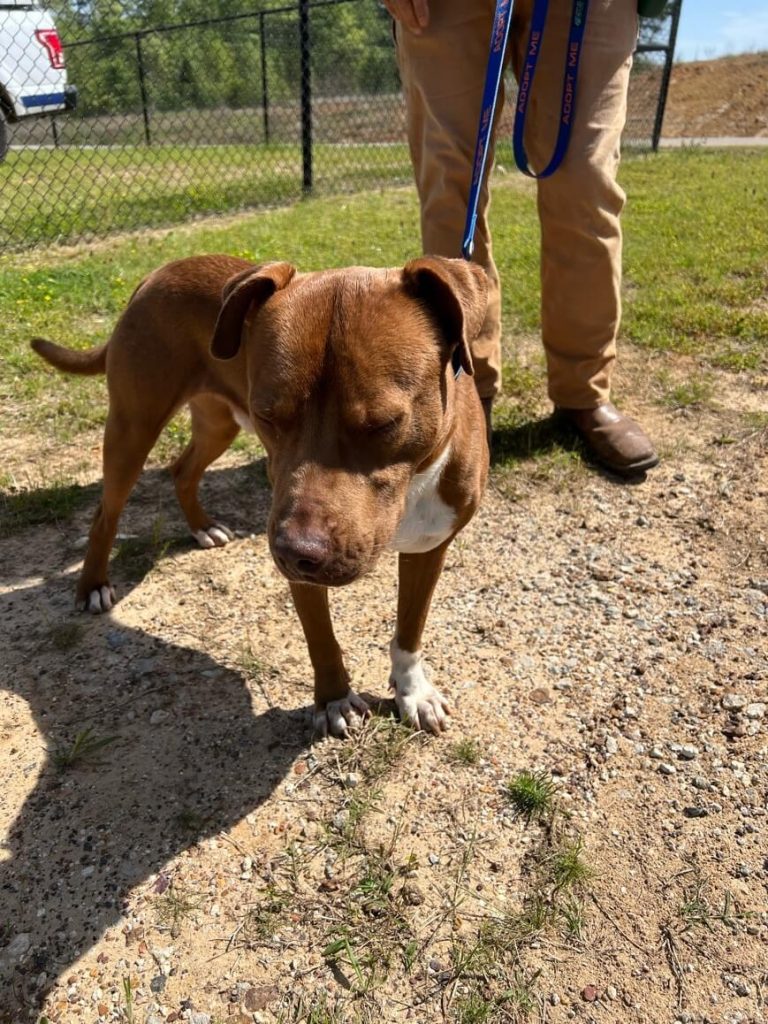
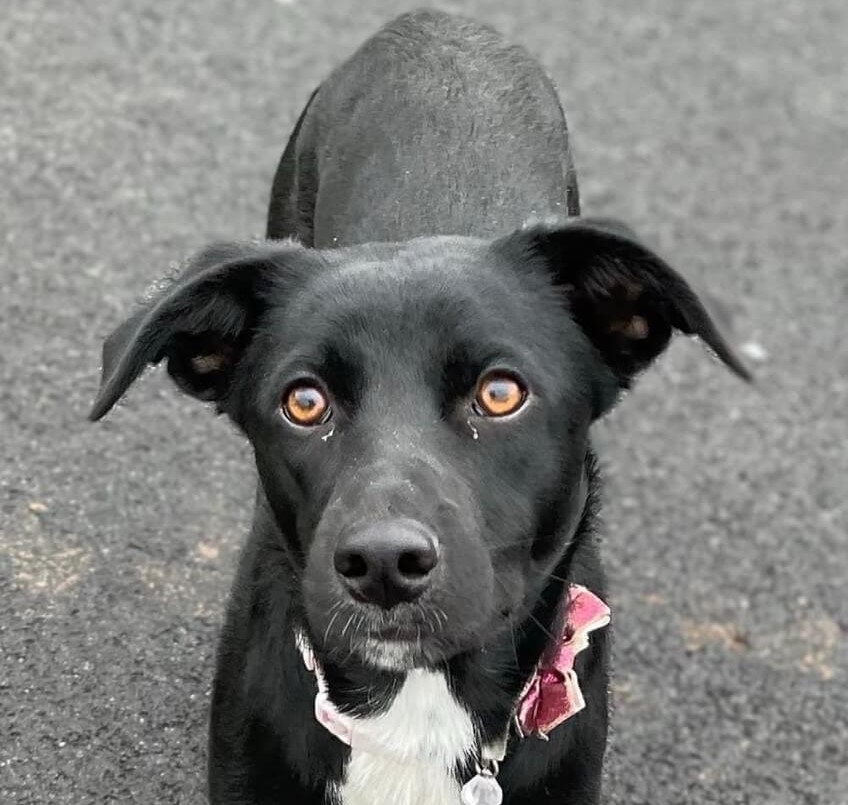
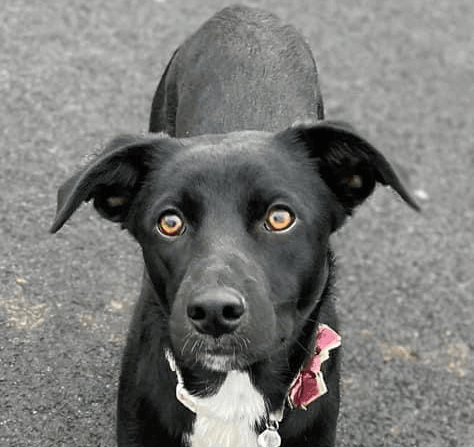
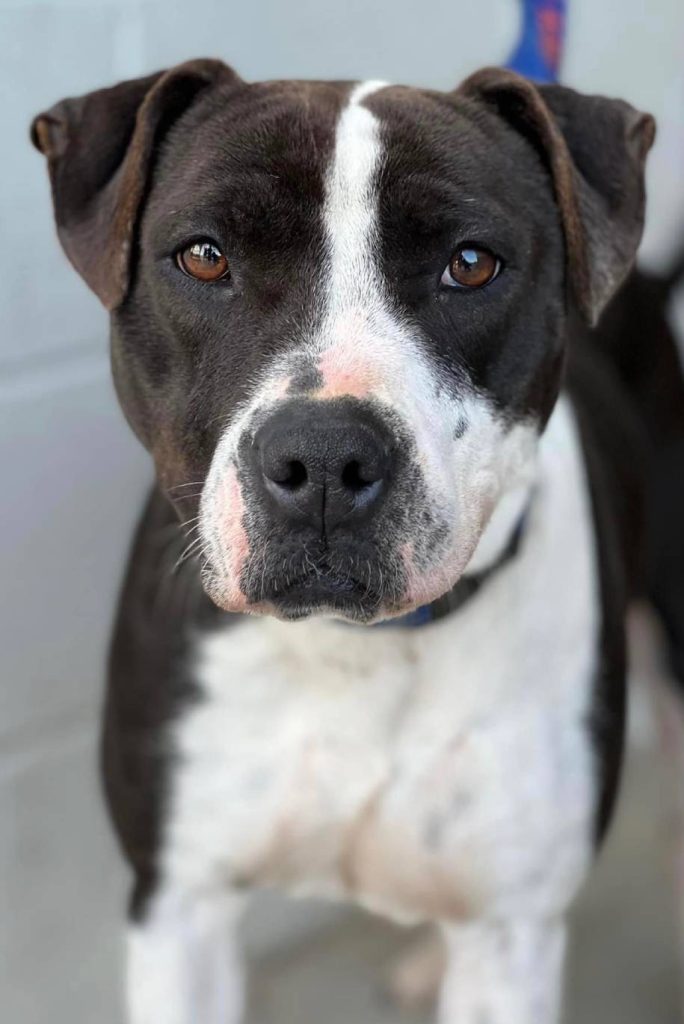
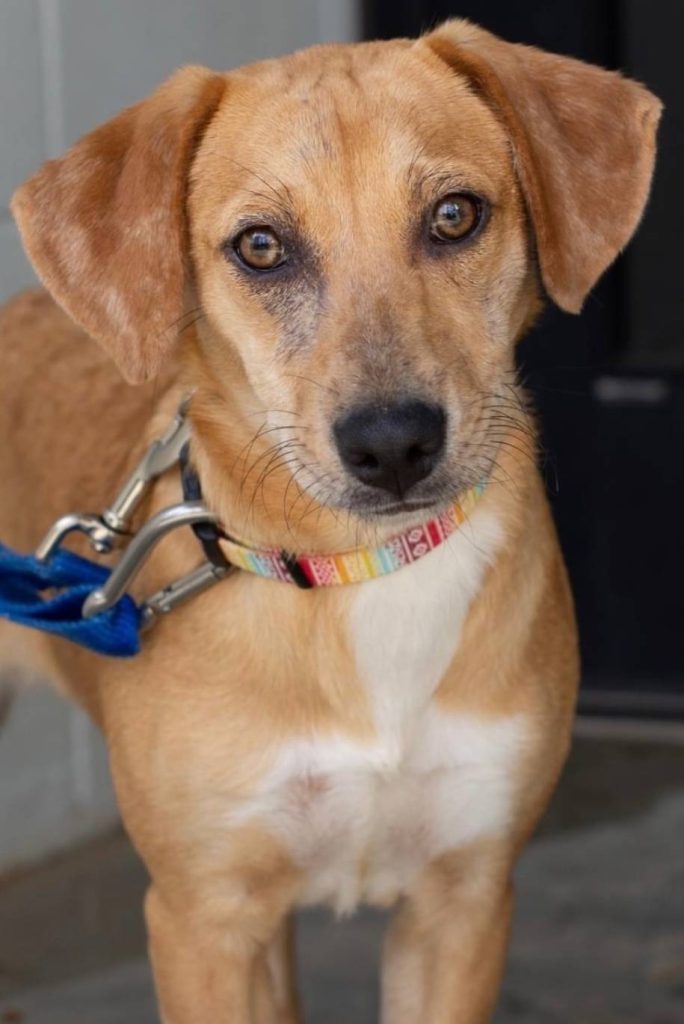
Sometimes photos of them looking up at you are adorable and by all means snap a few like this, but lowering yourself to the height of the dog can create a much more intimate look. See the examples of looking up vs eye level below.
The only difference is that in the first image the person taking photos is standing up straight and in the second they are kneeling. Can you see how each has a different feel?

B. Use all the tools at your disposal.

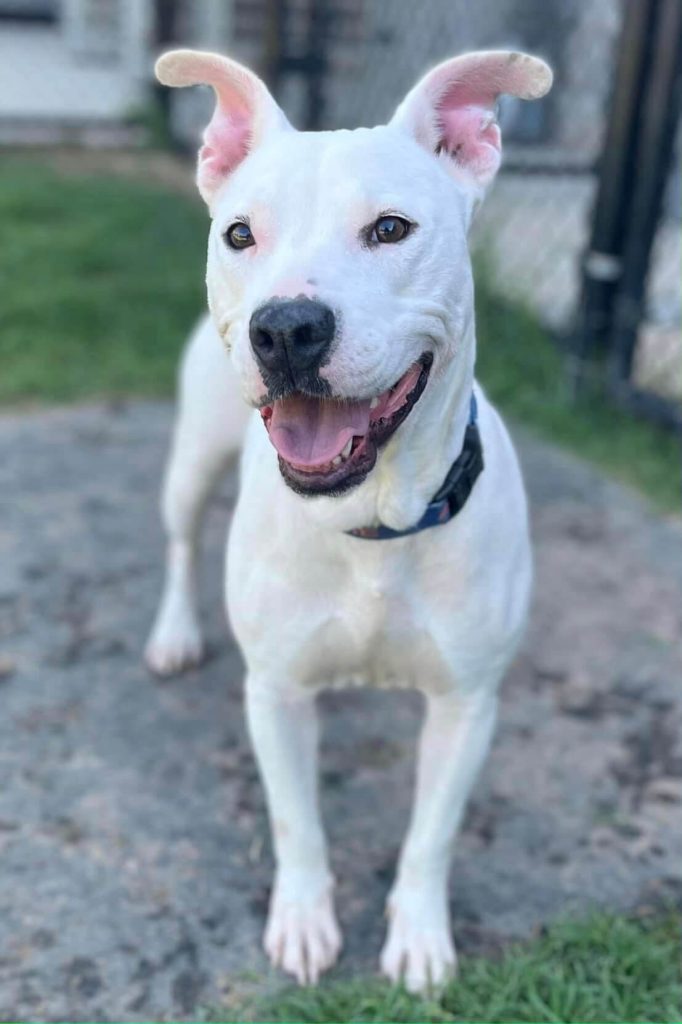
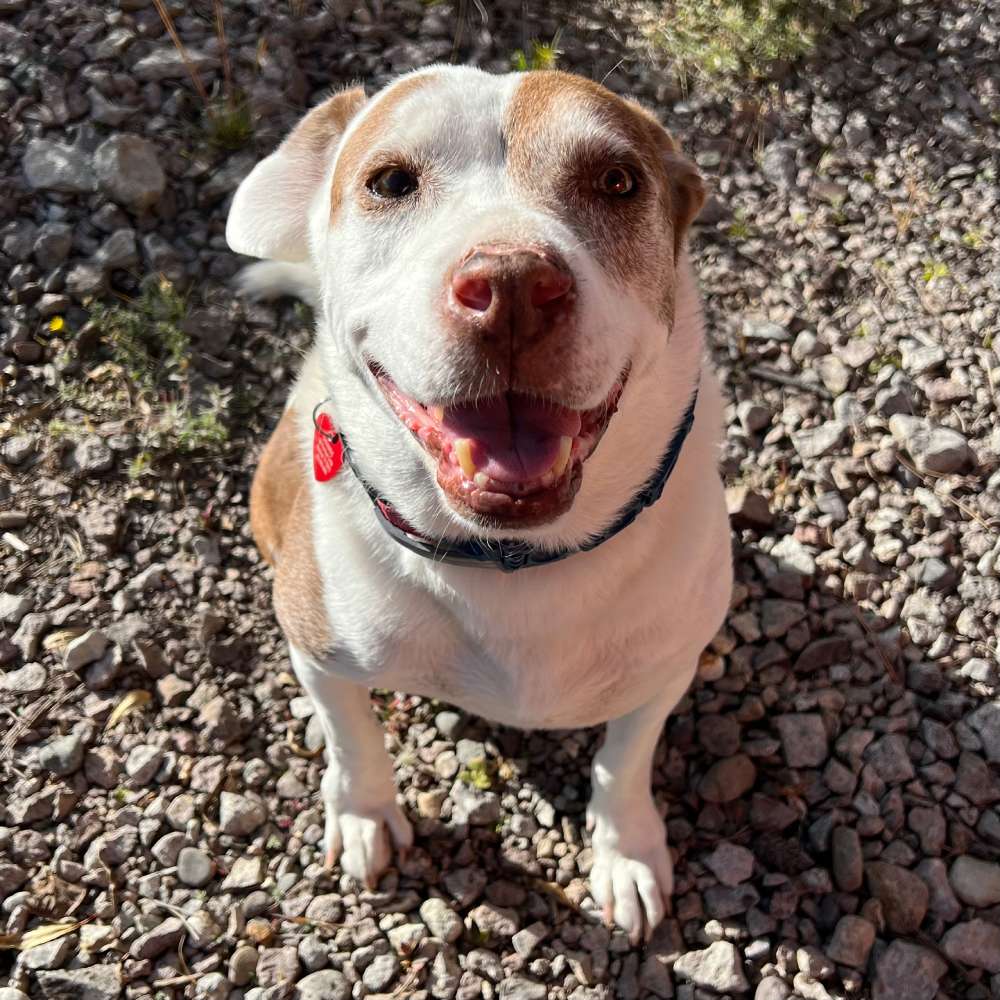
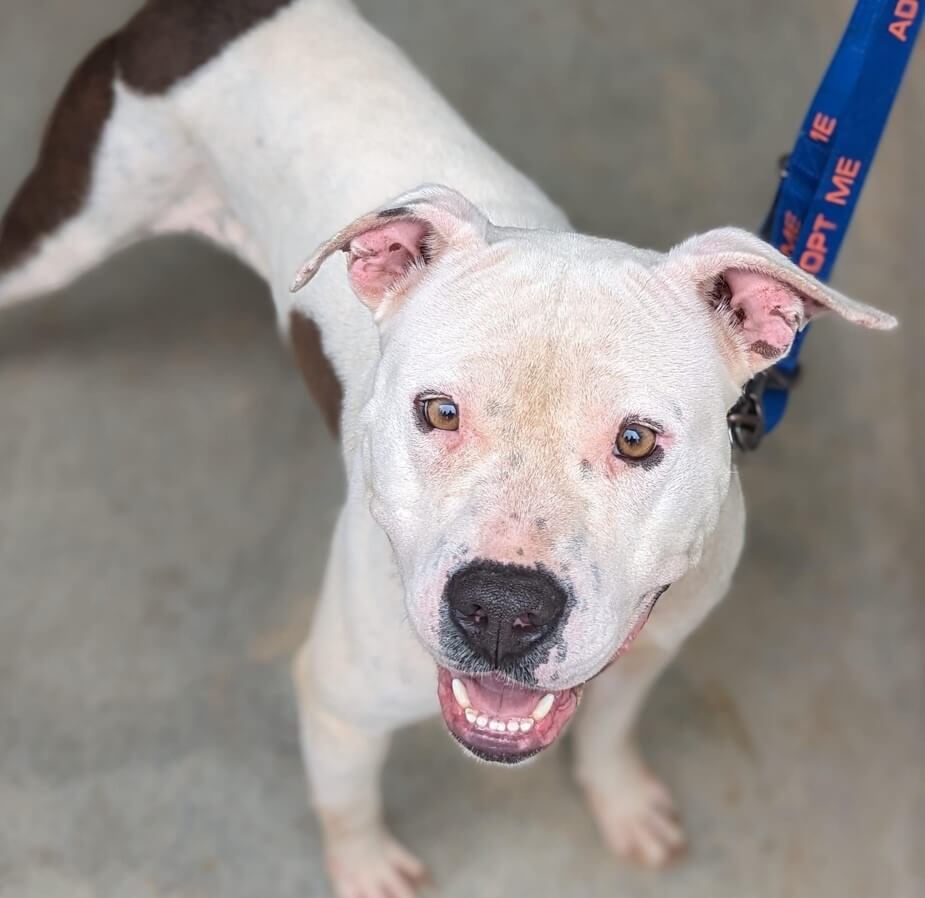
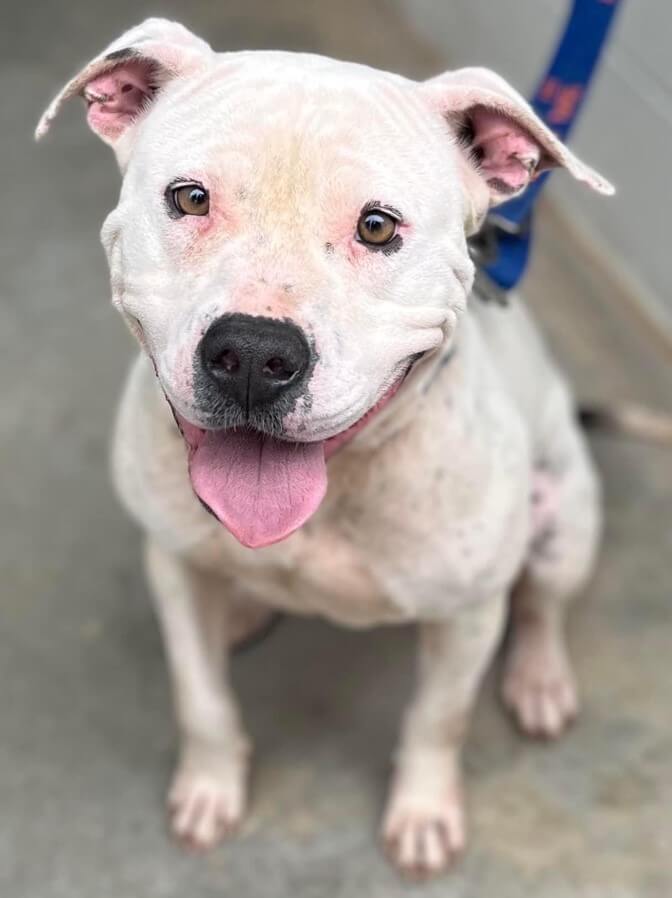
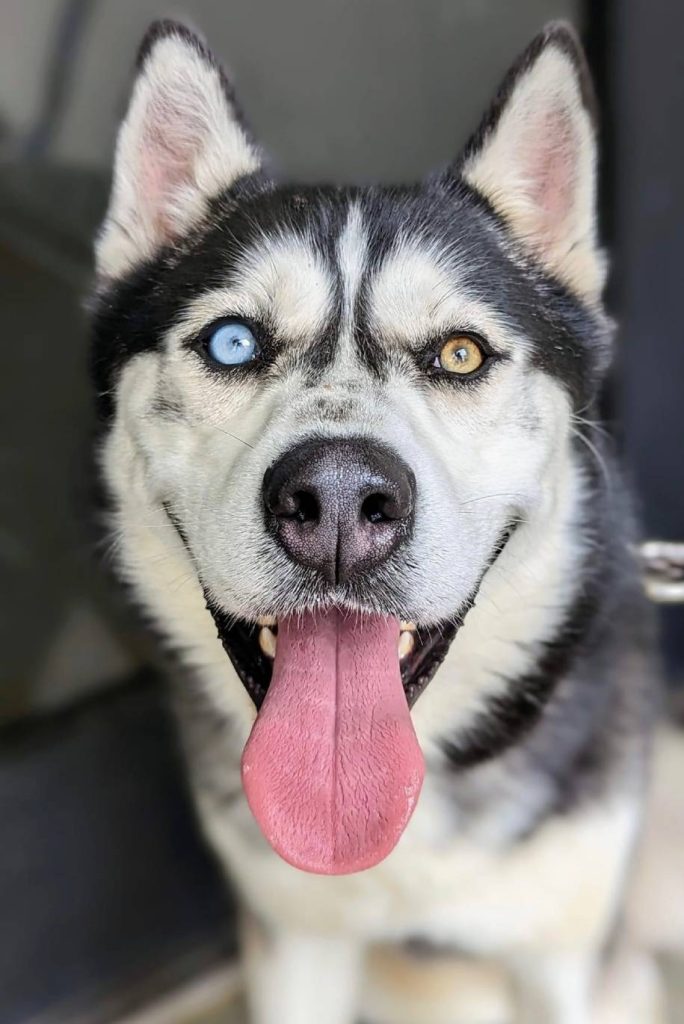
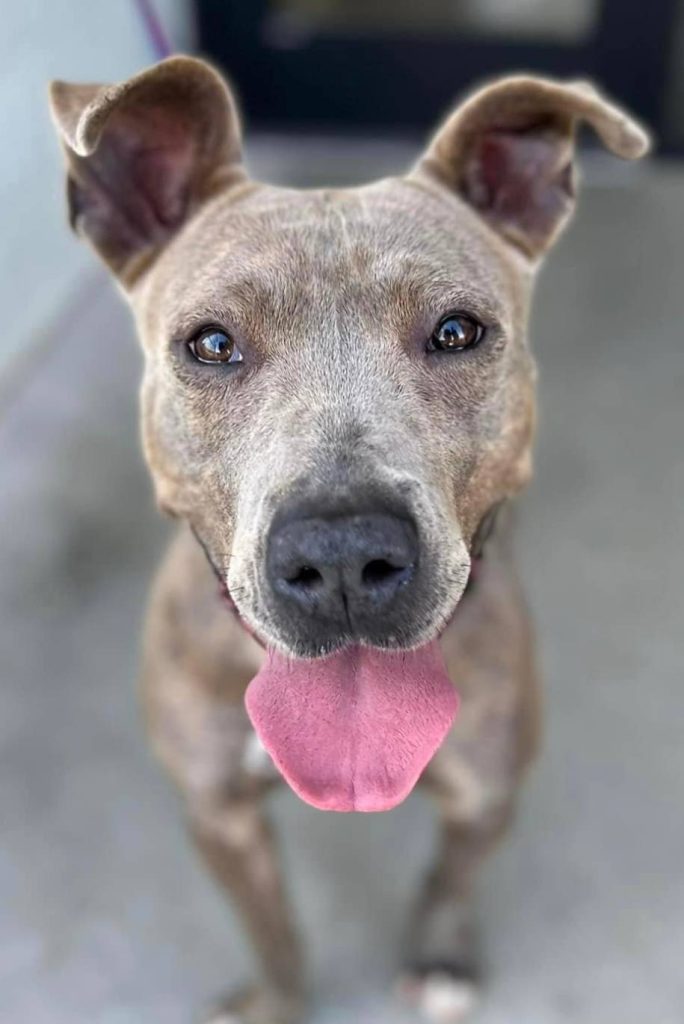
Squeaky, treats, sweet talk – whatever the dog responds to. Get their attention and shoot as many pictures as you can as quickly as possible. You will probably take 20 or 30 photos to get two or three really good ones.

C. Use portrait mode whenever you can.

This creates a sharp subject with a soft background allowing the pet to really stand out. It can also create a more intimate photo that helps the viewer feel emotionally connected. See examples below.

The first is a regular photo, the second was shot using portrait mode – leading to a nice bokeh effect in the background. For dogs who are moving a lot you may not be able to use portrait mode because it creates a motion blur when subjects aren’t still. Use it when you are able but know that for the wiggly ones it may not be an option.

When that dog is put back into its kennel, check and edit the photos as needed. Delete less desirable photos, keeping only the best. If you are working as a team, one person can return the dog while the other checks, edits and posts the photos. When the next dog arrives the first one is already online being seen by transport team members, rescues, or potential adopters.

You can still take candid shots when you’re walking dogs if they do something cute – but if you get photos using the method above you are free on your walk to enjoy your time with the dog and work on other important things (like simple commands and leash manners) or just go play fetch in the yard.

A note about foster photography. All of these rules and techniques can be applied in a foster home as well. In addition, you have the added advantage of being able to take candid shots of the dog engaging in entertaining or relaxed behavior.

Sometimes it’s much easier to understand these concepts with clear examples. Below is a gallery of various shots with some of the most common issues you’ll encounter and their simple solutions. With a little practice, avoiding mistakes and making perfect portraits will become second nature to you.

Background issues

Backdrop usage – simple sheets work, but gorgeous greenery or boring buildings work as well. Solid backdrops should go behind and under the dog, so they are seamless. In the photo to the left above, a patterned base is under the dog and only partially covers the floor, plus there is way too much going on behind the dog décor-wise. In the photo on the right, the background and base cover are the same color creating a seamless appearance. There is a little splash of color in the background but it’s not overly distracting since it’s blurred by portrait mode – and the small flash of red might even be somewhat eye-catching to someone scrolling though social media.

Use patterned backgrounds for close-up portraits only, not wide shots – and definitely not as bases (under an animal a pattern can look dirty or questionable – is it debris, poop, vomit, or a design, folks will wonder). Remember, boring backgrounds are better than busy ones because you want the subject, not the setting, to be the star.

Lighting issues to avoid – dappled sunlight, patterned shadows, bright overhead sun, hot spots, deep shade.

Indoors – you need some sparkle in the eyes. There are several lighting solutions (adjustable handheld lights or small clip lights that can be attached to your phone) for indoor use. At our facility we have several inexpensive ring lights than can clip to a phone and a rechargeable handheld adjustable studio light. You can also use window light to get that catchlight sparkle.

Avoid hotspots and bright sunlight – Dark shadows and bright spots result in too much contrast and pull the eye away from the subject, creating an uncomfortable distraction for the viewer. Overly bright sunlight causes dogs to squint and look away uncomfortably (same as us).

Wipe away eye gunk and face fuzz!

This is critical! Eye gunk makes dogs look unhealthy. People don’t want to adopt unhealthy pets. Fuzz makes dogs look dirty. In the photos below, the eye debris was removed digitally, but it’s better to wipe it away manually than to make more post-production work necessary. Keep some baby wipes or tissue with you when taking photos to easily address this problem.

Help shelter pets present their best selves. The goal is to show that they are healthy and charming. Once you know how and practice a few times it becomes easy and automatic.

Terminology (as it applies to pet photography)

Bokeh – the pleasing effect that results from using portrait mode on your phone camera. It refers to a narrow depth of field where the background blur appears soft and creamy.

Catchlights – light reflected in the eyes of a photo subject creating a twinkle or sparkle.

Deadeye – eyes that are absent of sufficient reflected light in a photo.

Low enrichment area – An area free of toys, clutter, wildlife or distractions.

Tether – anything (such as a leash) used to affix a dog to a stationary object.

ADDITIONAL RESOURCES

Tips & Tricks for Shelter Pet Photography | The Ultimate YouTube Guide – https://www.youtube.com/watch?v=NjaN_7tnRKU

Unleashed Pet Photography Education – https://www.facebook.com/unleashed.ed

Using Open Shade to Improve Photos – https://livesnaplove.com/blog/open-shade-photography

About the Author:

I’ve been photographing shelter pets for over 20 years – including doing pro bono work for several rescue groups. In the 2000s I had a photography studio in Houston Texas. My work has been published in newspapers and magazines and my fine art photography has been featured in a number of gallery shows throughout Texas.

Some of the photos featured here are mine, but many of the photos used in this article were taken by the wonderful volunteers at the Marshall Pet Adoption Center.

My Former Studio Websites:
Amanda Smith Images – http://www.amandasmithimages.com
Organic Images Online – http://organicimagesonline.com